Here is your 100% unique rewrite, crafted in the specified persona.
*
The On-Device Ringtone Heist: A Power-User's Playbook
Let's talk about breaking out of the sandbox. Cupertino would love for you to either shell out cash for every custom alert tone or tether yourself to a computer like it's 2009. We're about to sidestep that entire system with a slick bit of digital alchemy, using nothing but the iPhone in your hand. Our unlikely co-conspirators in this venture? The humble, built-in Files app and Apple's own powerhouse, GarageBand (grab it for free from the App Store if it's not already on your device). Don't let GarageBand’s studio-grade interface spook you; we’re about to use a flamethrower to light a candle, and it's ridiculously satisfying.
Forget thinking like a musician. Picture yourself running a digital audio chop shop. You’ve acquired the goods—your sound clip—and GarageBand is the high-tech workbench where we’ll slice it, dice it, and disguise it as a perfectly legitimate ringtone.
Phase One: The Acquisition
Every great caper begins with acquiring the asset. In our case, that’s an audio file, parked securely inside your iPhone’s Files app. Here’s the intel on snagging it from the wild.
- Lifting Audio from a Social Media Clip (TikTok, YouTube, etc.): This is the classic scenario. Flip on your iPhone’s Screen Recording (pro-tip: add it to your Control Center via Settings for quick access). Let the video play through the part you want to capture, then stop the recording. Dive into your Photos app, find the new video, and hit 'Edit.' Use the trimming handles to surgically isolate the exact moment you need, then save the result. Now for the extraction: you’ll need an accomplice. Free App Store utilities like 'MP3 Converter' are perfect for this. Just import your freshly trimmed video, command it to export as an MP3, and—this is key—select 'Save to Files' as the destination. Mission accomplished.
- Repurposing a Voice Memo: It doesn’t get cleaner than this. Jump into the Voice Memos app and locate your target recording—your kid's giggle, a friend’s ridiculous quote, anything. Tap the (...) menu icon, hit 'Save to Files,' and stash it in a folder where you can find it later. Simple.
- Using a DRM-Free Music File: Here’s the one hard rule: this bypass won’t work on tracks from subscription services like Apple Music or Spotify. Their Digital Rights Management (DRM) is the digital equivalent of a vault door. You need a clean MP3, M4A, or WAV file that you legally own. Get that file into your Files app—whether through iCloud Drive, Dropbox, or by Airdropping it to yourself from another device—and you’re golden.
Phase Two: The GarageBand Laundering Operation
With your audio asset prepped and waiting in Files, it’s time to head to the workshop.
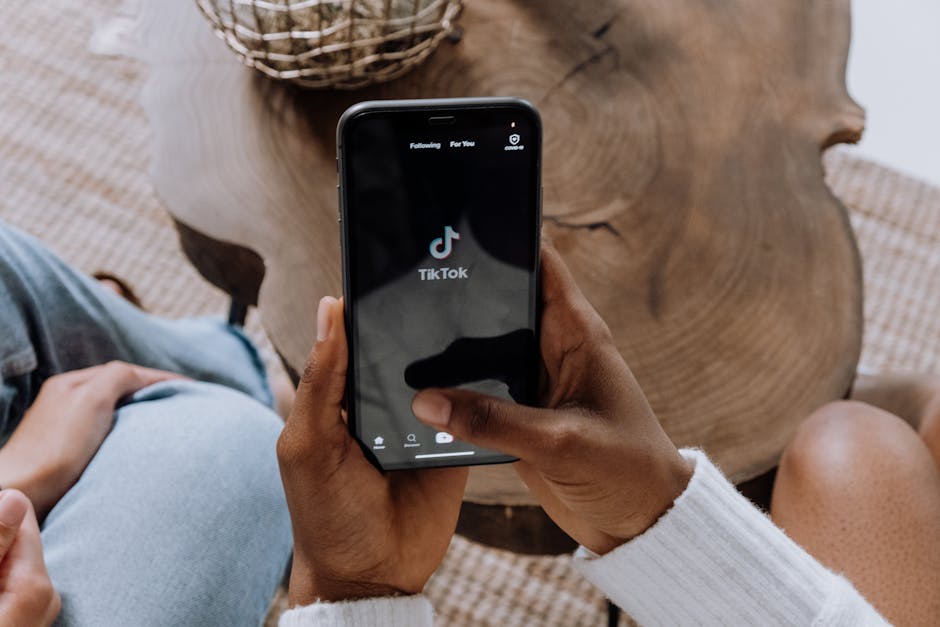
1. Fire up GarageBand. Newcomers will be greeted by a wall of virtual instruments. Ignore them all. Swipe until you land on the AUDIO RECORDER and give it a tap.
2. Ditch the Mic for the Timeline. That giant microphone graphic is useless to us. We need the multitrack view. Look to the top-left for an icon that resembles a tiny brick wall or a stack of lines. Tap it to enter the real editing bay.
3. Silence the Metronome. See that glowing blue pyramid icon at the top? That’s the metronome, and its incessant clicking will drive you mad. Tap it once to kill the sound.
4. Beam in Your Audio. Now for the magic. Locate the lasso-looking loop icon in the top-right corner and tap it. A new panel slides in; from here, select the Files tab. Navigate through your folders to find the audio file you stashed earlier. Tap it once to preview, then press, hold, and drag that file from the list directly onto the empty track timeline.
5. The Final Cut. Your sound is now a tangible block of color on the screen. Remember, the perfect ringtone is a quick burst of sound—Apple imposes a hard limit of 30 seconds or less. Grab the edges of the audio block and drag them inward, trimming your clip down to the most impactful snippet. Hit play to ensure it's perfect.
Phase Three: The Deployment
The package is ready. It's time to release it into the wild.
1. In the top-left corner, tap the downward-pointing arrow and select My Songs. This saves your work and boots you back to the GarageBand project browser.
2. Your new project, probably called 'My Song,' will be sitting there. A quick tap won't do; a long, deliberate press on the file is the secret handshake that summons the context menu.
3. From that menu, hit Share. A panel of familiar icons will appear.
4. There it is. The whole point of our mission. Select Ringtone.
5. Give your creation a proper name—"Viral Cat Scream" or "Office Inside Joke"—and tap Export.
6. A "Success" pop-up confirms the operation was a go. You can tap 'Use sound as...' to immediately assign it as your default ringer, text tone, or link it to a specific contact. Otherwise, just tap 'OK.'
And just like that, you've completely bypassed the Apple tax and the tyranny of the USB cable. The system has been beaten, your iPhone is more yours, and you never had to leave the couch. Welcome to the club.
Here is the rewritten text, infused with the specified persona:
---
Your iPhone's Sonic Signature: Why a Custom Ringtone is the Ultimate Power-Move
Let's be real: in an era where our wrists buzz and "Do Not Disturb" is a permanent state of being, you could be forgiven for dismissing the humble ringtone as a digital fossil. But to do so is to fundamentally misunderstand its power. Crafting a custom ringtone is a micro-rebellion, a tiny declaration of independence from Cupertino's sonic conformity. Apple hands you a pre-packaged symphony of sterile, universally palatable chimes designed to blend in. The result? That Pavlovian head-jerk in a crowded cafe when someone's iPhone rings, because for a second, it could be anyone's. It could be yours.
Your device's default alert is the sonic equivalent of a blank, factory-set canvas. A custom ringtone is the bold, unmistakable splash of your own paint across it. It’s the sonic graffiti you spray on the side of your identical glass-and-aluminum slab, instantly signaling that this isn't just another device—it's your territory.
This entire on-device, no-Mac-required dance is about more than just a clever trick; it’s a power play. It’s about seizing the controls inside Apple's beautifully manicured 'walled garden'. That legendary user-friendliness is often a velvet-lined cage, subtly steering you away from true customization. By weaponizing a music production powerhouse like GarageBand for the mundane task of trimming an audio file, you're deliberately short-circuiting Apple's intended user journey. It’s a beautiful piece of system subversion—like picking a lock with the key maker's own tools to build yourself a better door.
And beyond the sheer satisfaction of the hack, there’s a massive practical payoff. You can upgrade your iPhone from a blunt instrument of notification into a precision-guided communication hub by assigning unique audio clips to your key contacts. That snippet from an obscure 8-bit video game theme? That’s your group chat blowing up. The synth drone from your favorite sci-fi movie? That’s your partner, not another robocall promising an extended car warranty. It’s an audio-based triage system for your social life, letting you instantly gauge a call's priority before your thumb even nears the screen.
In the relentless firehose of digital pings and alerts, crafting these personalized audio cues isn't just a quirk. It's an essential strategy for mastering the chaos and making your technology truly work for you.